Quick Start with Framer
Recently, I used Framer to finish an interaction design, and was amazed to find an easy way to realize high fidelity interaction design.
Have a look at the UX I finished: LynKingUX
Code released on Gihub.
1. What is Framer

Framer is a tool of using CoffeeScript code / drag operations to do high fidelity interactive design. Smooth animation and testing on any device are its two main features.
2. How to learn Framer in 30 minutes
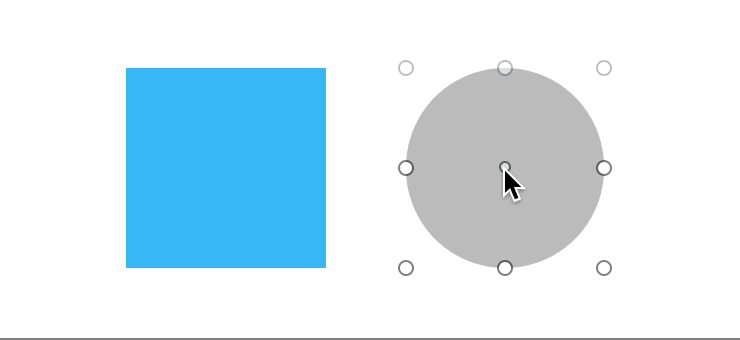
2.1 One Element: layer
The "one element" is layer. layer is the most basic element (may be also the only element you need to learn) in Framer.
Initiate a layer and its style with:
myLayer = new Layer
    x: 0
    y: 0
    width: 100
    height: 100
Then drag and change its outlook by dragging the element.
2.2 Two Functions: onClick and states
The basic of interaction is click. We can set onClick event to any layer if needed. After clicking layer, actions need to be assigned:
myLayer.onClick (event, layer) ->
    # assign actions after clicking
    # e.g.
    pages.snapToPage(page7)  # page jump
    menu.states.next()  # menu animation
Two following actions are assigned here: jump to page7, and animate to the next animation state. These two lines will be explained in the following parts.
States are used for animation. Every layer can have one or two or more states. When you want to set animation to a layer, original and final states should be described. To get more complicated animation, several intermediate states can be assigned. Here is an example of assigning two states and make it start after click:
myLayer = new Layer
    width: 150
    height: 150
    borderRadius: 75
myLayer.states.add
    turnToSquare:
        borderRadius: 5

myLayer.onClick (event, layer) ->
    myLayer.states.next()  # animate

The animation process is automatically a loop: if you click the myLayer several times, it will turn into square first, then circle, then square...
Note that turnToSquare in the codes is only the name of animation, you can change as you want.
2.3 Two Components: PageComponent and ScrollComponent
For these two components, just copy and paste codes - they are long but easy to understand.
To make an APP prototype, page component is a necessity. To use the PageComponent, there are two ways.
The first way is given in Framer example code as following:
# Create PageComponent
page = new PageComponent
    x: Align.center
    y: Align.center
    width: 210
    borderRadius: 6
    scrollVertical: false

# Add pages
for i in [0...5]
    layer = new Layer
        parent: page.content
        name: "Page #{i}"
        x: 210 * i
        backgroundColor: "#00AAFF"
        borderRadius: 6
Yet it is hard to edit each page (because of the loop).
Here is another way (recommend this way, which breaks loop):
# Create PageComponent
pages = new PageComponent
    x: Align.center
    y: Align.center
    width: 210
    borderRadius: 6
    scrollVertical: false

# Add one page
page1 = new Layer
    parent: pages.content
    x: 210 * i
    backgroundColor: "#00AAFF"
    borderRadius: 6

# Add another page
page2 = new Layer
    parent: pages.content
    x: 210 * i
    backgroundColor: "#00AAFF"
    borderRadius: 6

# You can conveniently set page jump
page1.onClick (event, layer) ->
    pages.snapToPage(page2)

As card style design is getting popular these days, scroll component is a must:
# Create a ScrollComponent
scroll = new ScrollComponent
    size: 120

# Create the content layers
layerA = new Layer
    parent: scroll.content

layerB = new Layer
    parent: scroll.content

What Framer will be in the future
Yesterday(2016-10-14), Framer released a new function: "Auto-Code Animation" and it's not hard to know Framer's ambition -- to do a code free ux design tool. The full content of its new function introduction:
Design a slick transition or invent a whole new interaction. No matter what you dream up, Auto-Code Animation is the easiest way to design it.
Read the full announcement on the blog or click below to watch the product video on YouTube.
Framer resources and another recommend UX tool
One more thing: Origami
Origami is a more practical tool as the code generated can be directly used by front-end engineer.